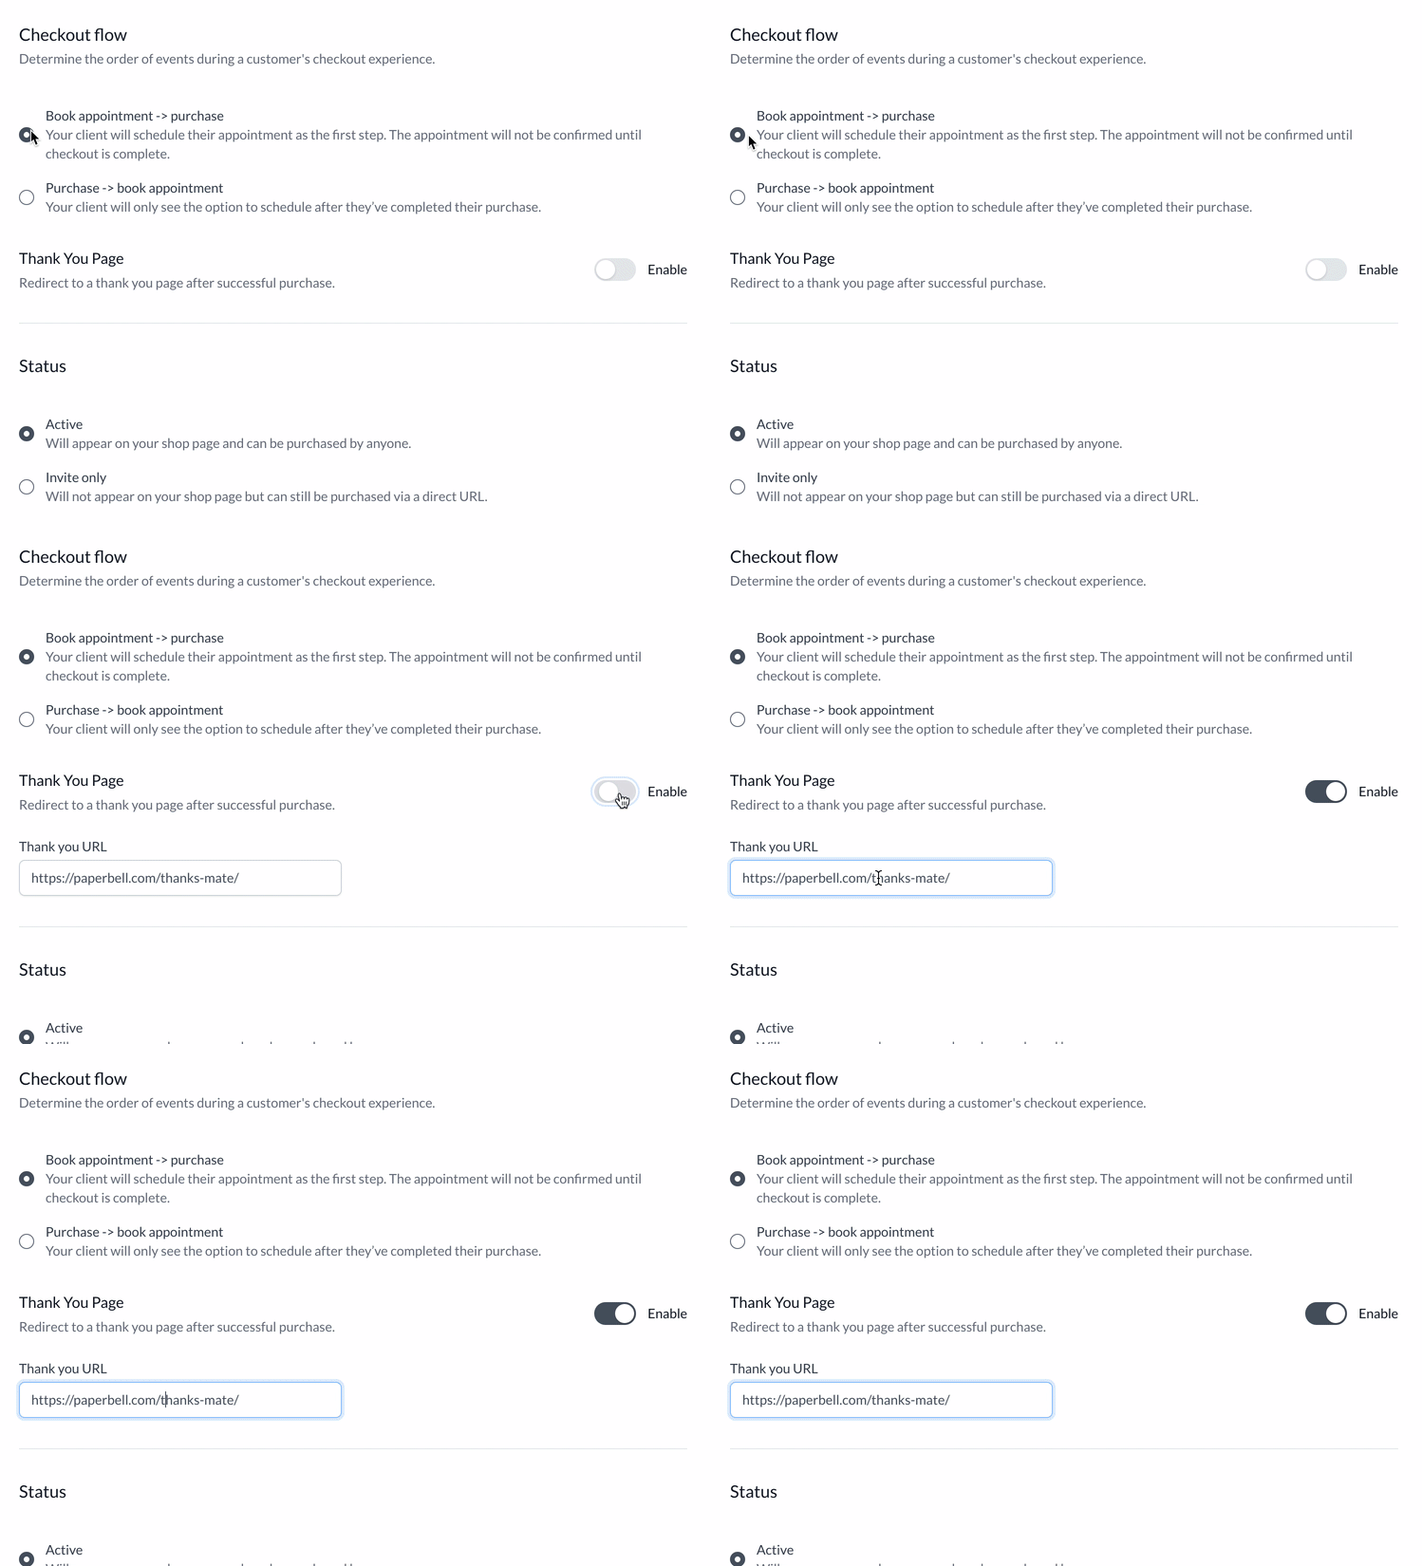
Paperbell’s “Enable Thank You Page” option lets you send clients to any URL after they complete the checkout process.
This is normally used to send people back to your own website. This allows you to do many things:
- Send people to a “Here’s what to expect” page explaining more about the package they’ve just purchased. (This page would also be handy to include in a post-purchase automated email)
- Add a tracking code to the thank you page so you can track successful leads or purchases in Google Analytics, Facebook Ads tracking, etc.
- Create upsell opportunities: you may want to use this page to suggest additional packages that would complement the one they’ve just purchased (maybe additional coaching hours or resources).
- Let the client know about other resources you offer, how to follow you on social media, etc. This is particularly relevant for a free discovery call.
Here’s how to set it up:
- In your list of packages, click on the package for which you’d like to add a custom page
- Click the “Modify” button in the details section on the first Summary tab of your package
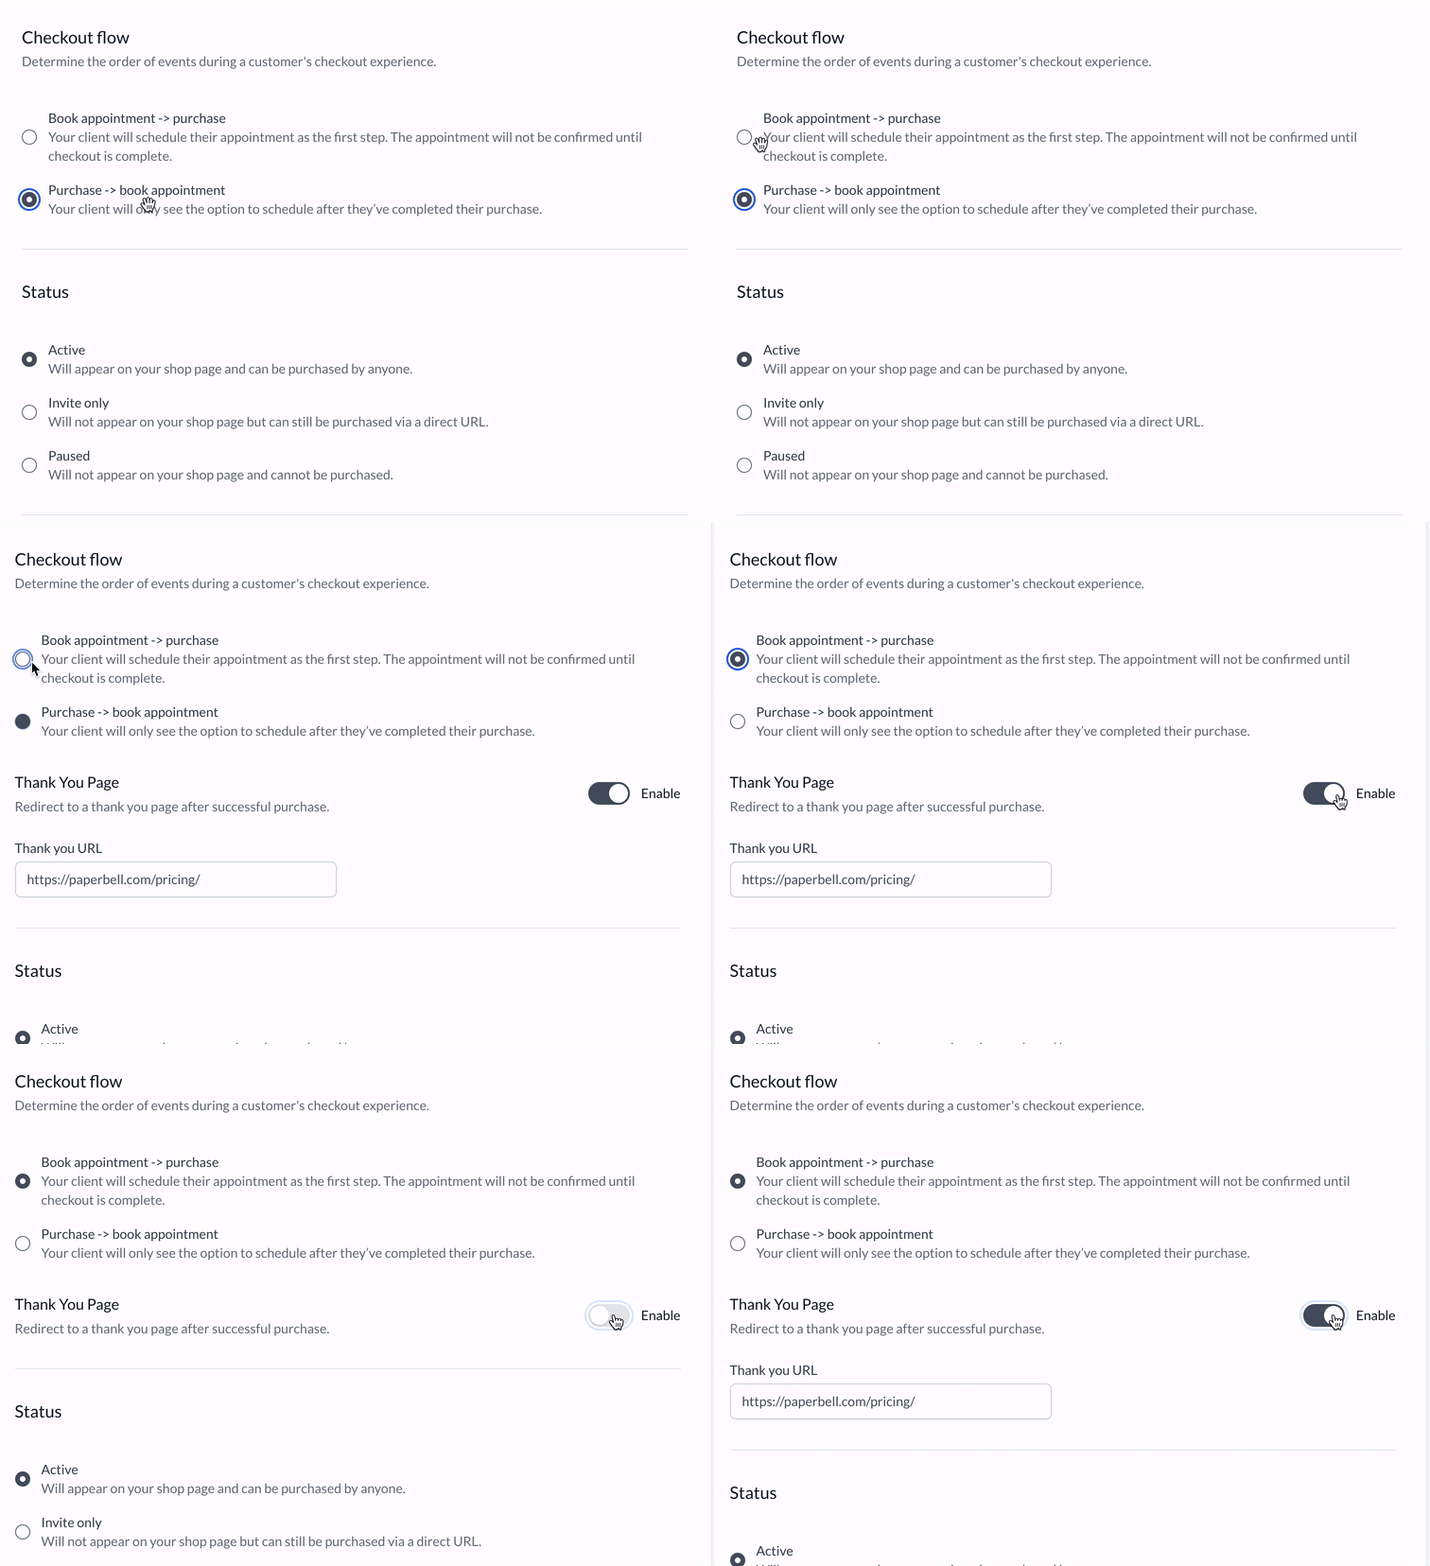
- In the “Checkout flow” section make sure to choose the “Book appointment” first checkout flow
- Slide to Enable the Thank You Page option
- Enter your thank you page URL (can be any page on the internet)

Don’t forget to click Save at the bottom of the page!
FAQ
Can I create a universal Thank You page that applies to every package?
Thank You pages are package-specific so that you’re able to modify them for different packages. There is not a universal setting across all packages, but you can use the same URL for as many packages as you like.
How do I set up my Thank You page as a goal in Google Analytics (GA)?
Using your Thank You page as a GA goal allows you to use GA’s goal features to successfully track leads from site visitor to purchase. To do this, make sure you have your GA code installed on the Thank You page. If you’re using WordPress, Squarespace, Wix, Showit or another site builder for the page you can do this universally across your site.
Then, add the Thank You page URL as a Google Analytics goal. Here’s how to do that.
Will my Thank You page reliably show to every single customer?
There are a few reasons why your Thank You page may not “fire” or be tracked. One is that the client simply closed the window too soon, before the page loaded.
Another common reason is if your client didn’t complete the survey: if a survey is part of your checkout flow, your Thank You page will appear only after the client hits “save” on the survey.
How do I track successful bookings and purchases from my Facebook ads?
You’ll need to create a custom web page with your Facebook tracking pixel installed, and then set that URL as your custom Thank You page within Paperbell. The page can contain anything as long as it has the FB pixel installed. (So if you aren’t sure what to create, just make a new page that literally says the words “Thank you!”)
You’ll want to this to be a specific page that isn’t linked anywhere on your website or used for anything else, so that you can be sure it’s only tracking successful Paperbell purchases. (For example, you wouldn’t want to use the same URL as the “thank you page” that you use for your email subscribers.)
Why don’t I see the option to enable a Thank You page?
It’s probably because you are using a “purchase first” checkout flow. Change this setting to “Book appointment” first and the option will appear:

Why can’t I use a Thank You page with a “purchase first” checkout flow?
If your client purchases before scheduling, they finish their session by scheduling in the Paperbell client portal. Since they may schedule several appointments there’s no clear “end point” to send them to the Thank You page.
keywords: cookies, tracking, GA, GTM, tracking pixel, TY page
