
The keys to the castle! Your Paperbell account settings live here.
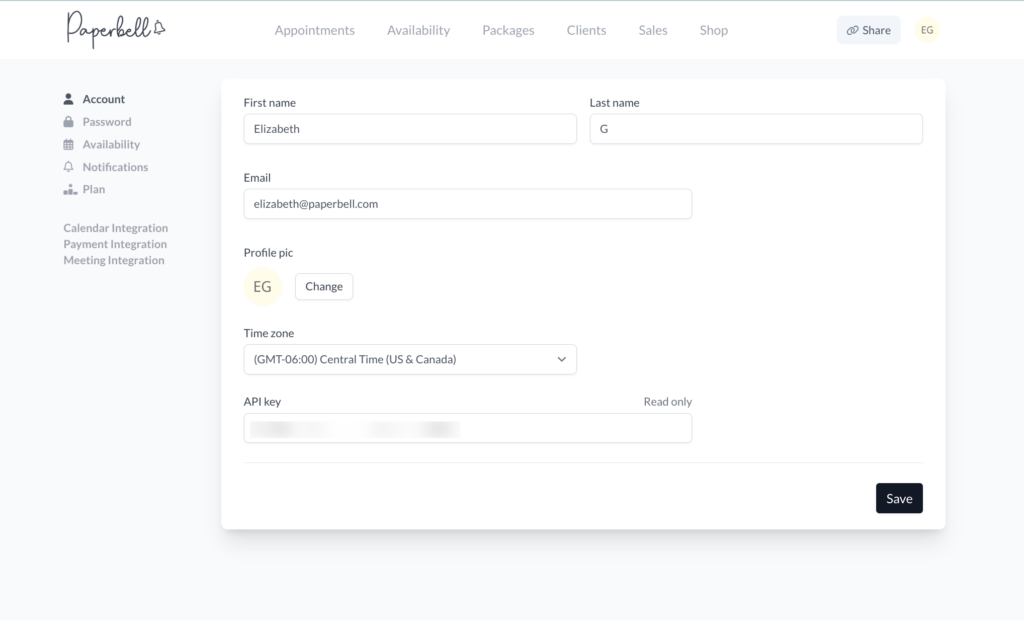
Find account settings such as your name, email address, profile pic, and time zone. Your first and last name will be used in emails to clients that are generated from Paperbell.
If you’d rather have a business name display, change your name to your business name. For example: “You have a new appointment with Blueberry Coaching…” [instead of Marcia Smith].
You can also find your API key here.
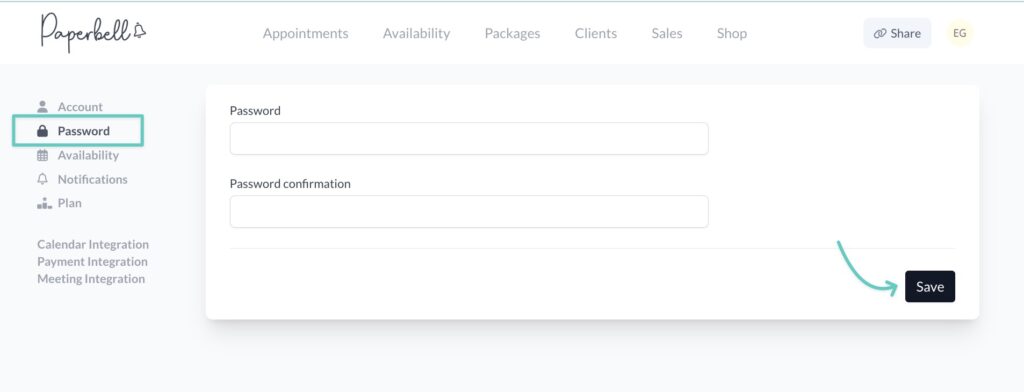
Change Your Paperbell Account Settings Password
In this section you’ll be able to update your password to a new one. It’s a good idea to do this every so often. 🙂
Availability
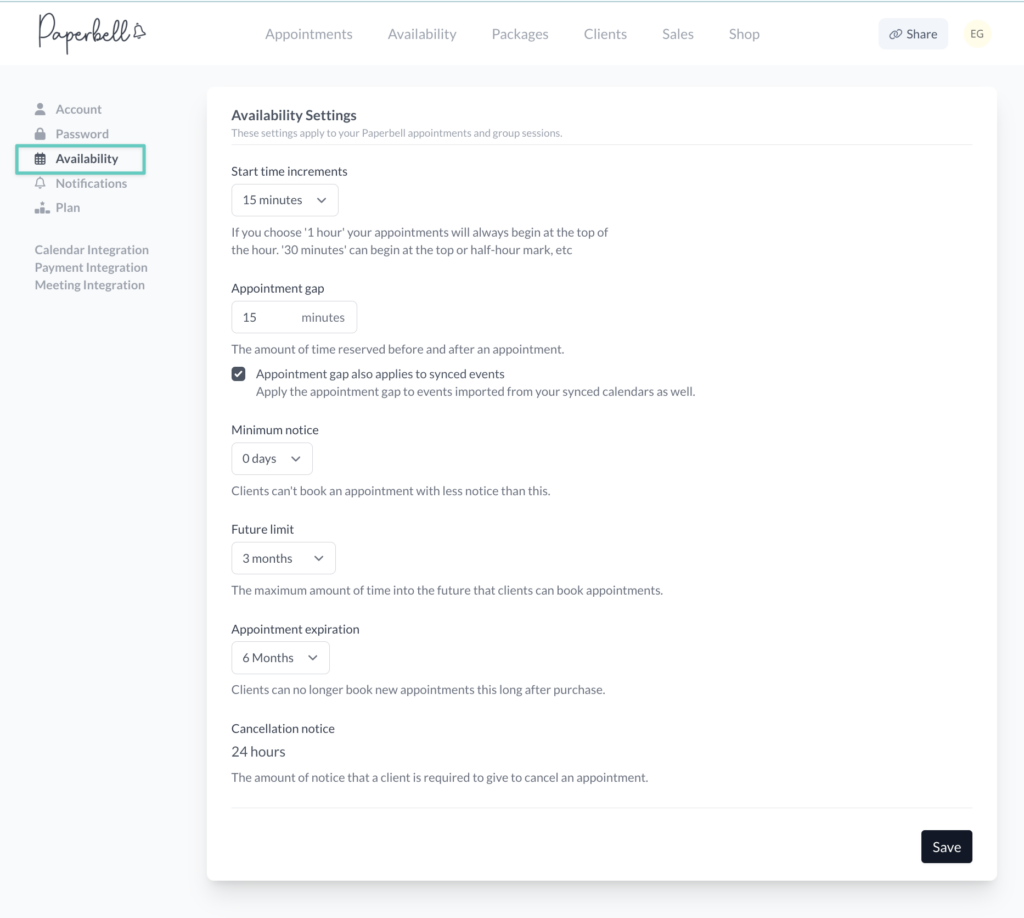
Your appointment settings live here.
Let’s dig in:
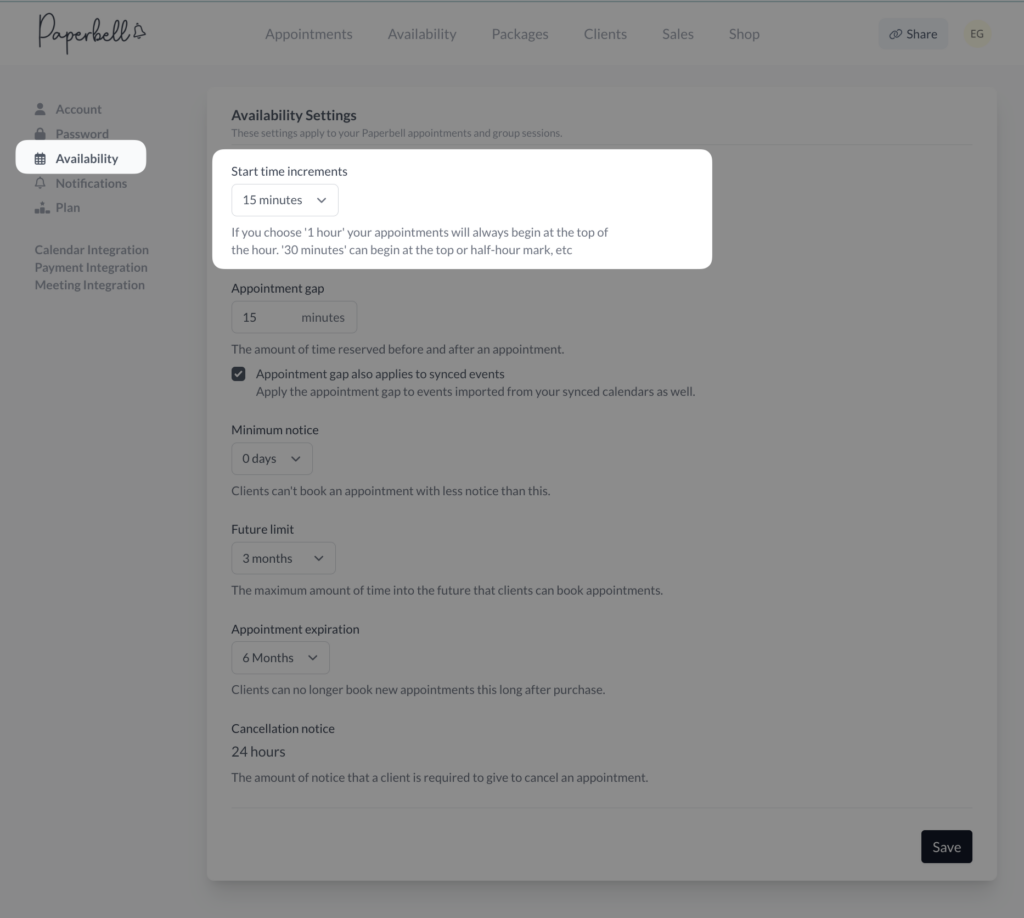
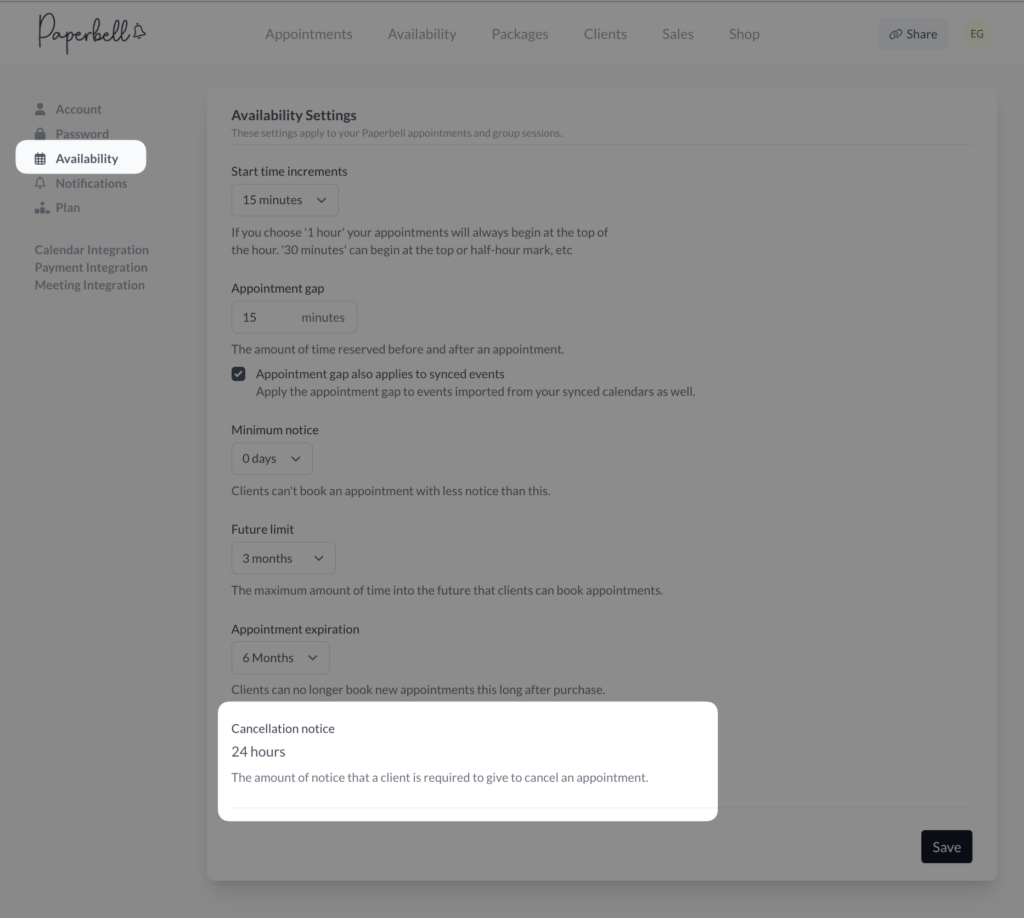
Start time increments determines when appointments can begin. If you choose ‘1 hour’ your appointments will always begin at the top of the hour. ’30 minutes’ can begin at the top or half-hour, and 15 minutes can start at :00, :15, :30 or :45
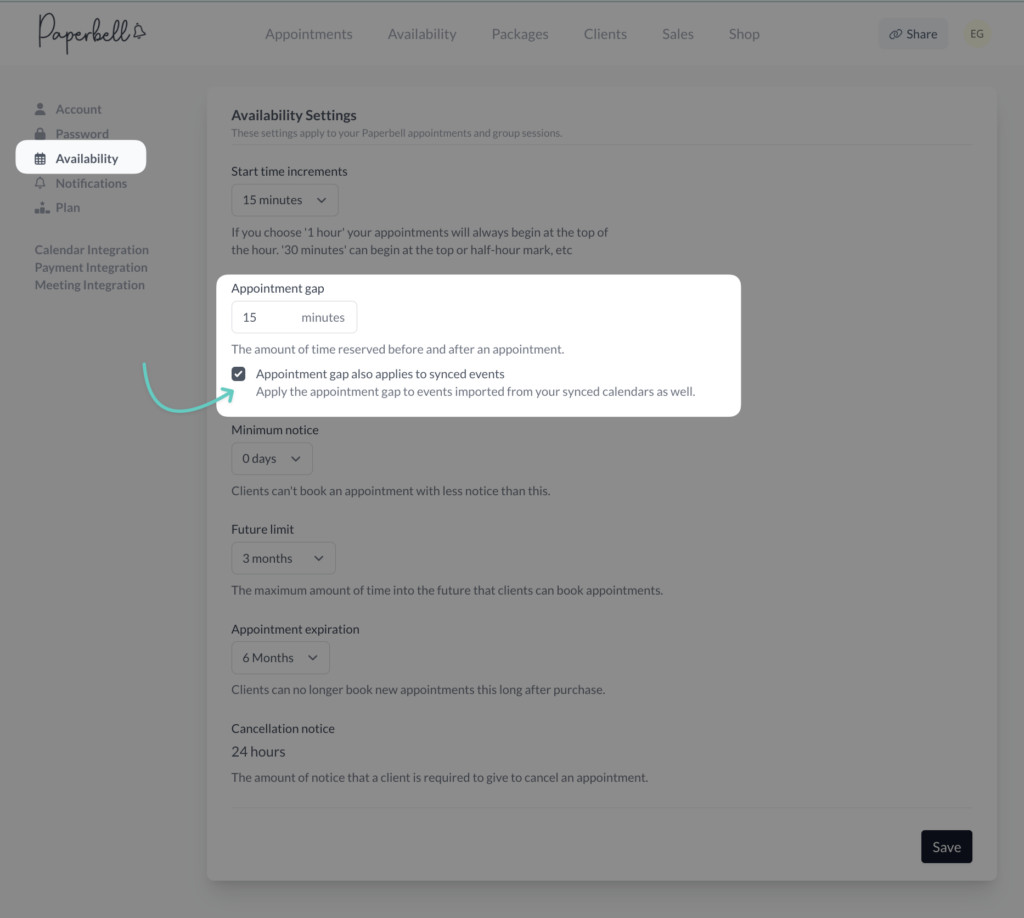
The appointment gap setting tells Paperbell if you would like to schedule gaps before and after your appointments. (This is sometimes called a buffer.) Many customers like to have a 5 or 10 minute window in between appointments– use the gap setting on your package page to make that happen.
“Appointment gap also applies to synced events” means that Paperbell will also add an automatic gap before and after events pulled from your synced Google Calendar. For example, if you have a meeting with your bookkeeper on your Google Calendar that ends at 3pm and you have a 15 minute appointment gap, Paperbell will not begin your next meeting until 3:15.
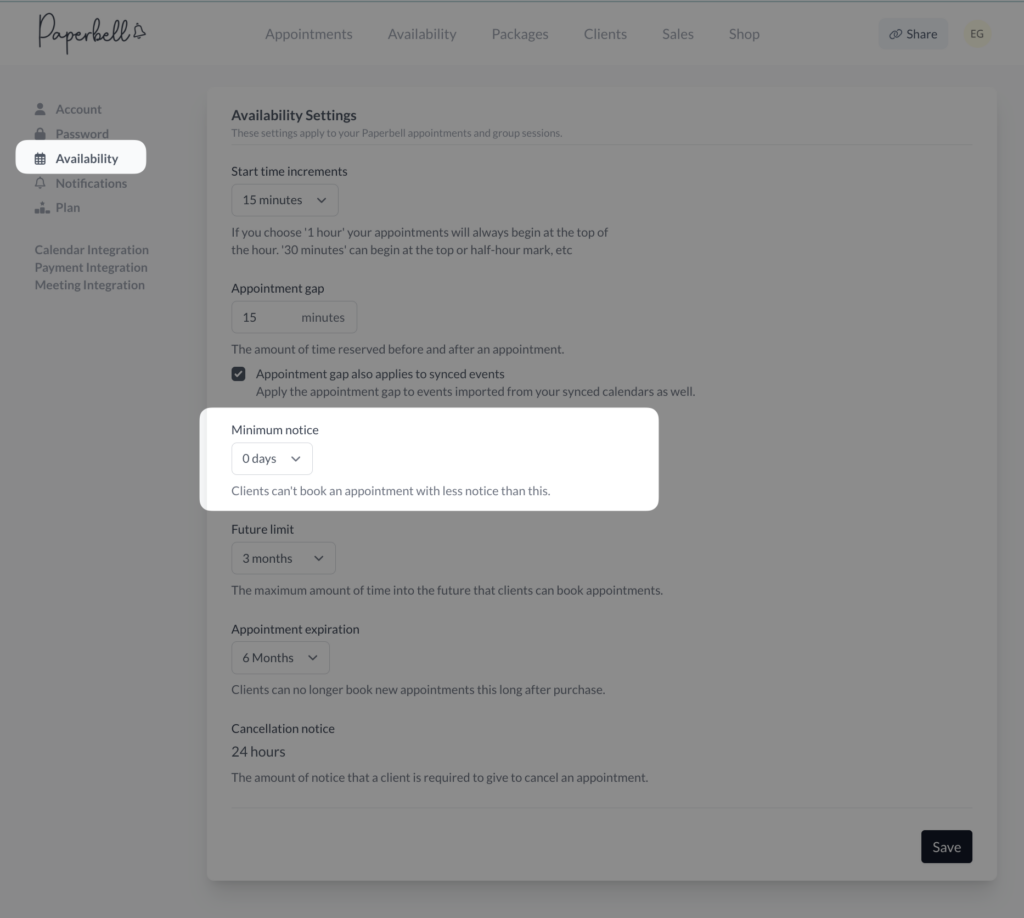
Minimum notice stops clients from making last-minute appointments that you might miss. If you choose “none,” clients will be able to make appointments at any available time, even if it’s 5 minutes from now.
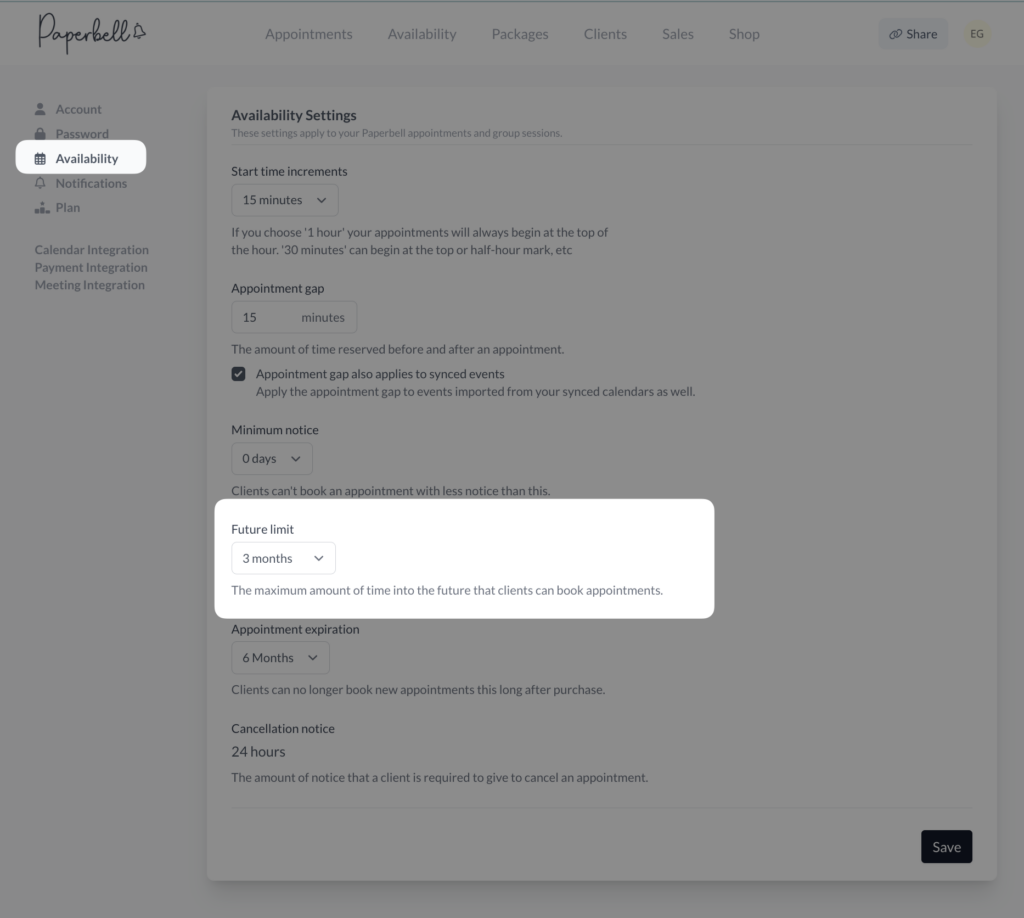
Future limit determines the maximum amount of time into the future that clients can book appointments and “cancellation notice” defaults to 24 hours — the amount of notice that a client is required to give to cancel an appointment.
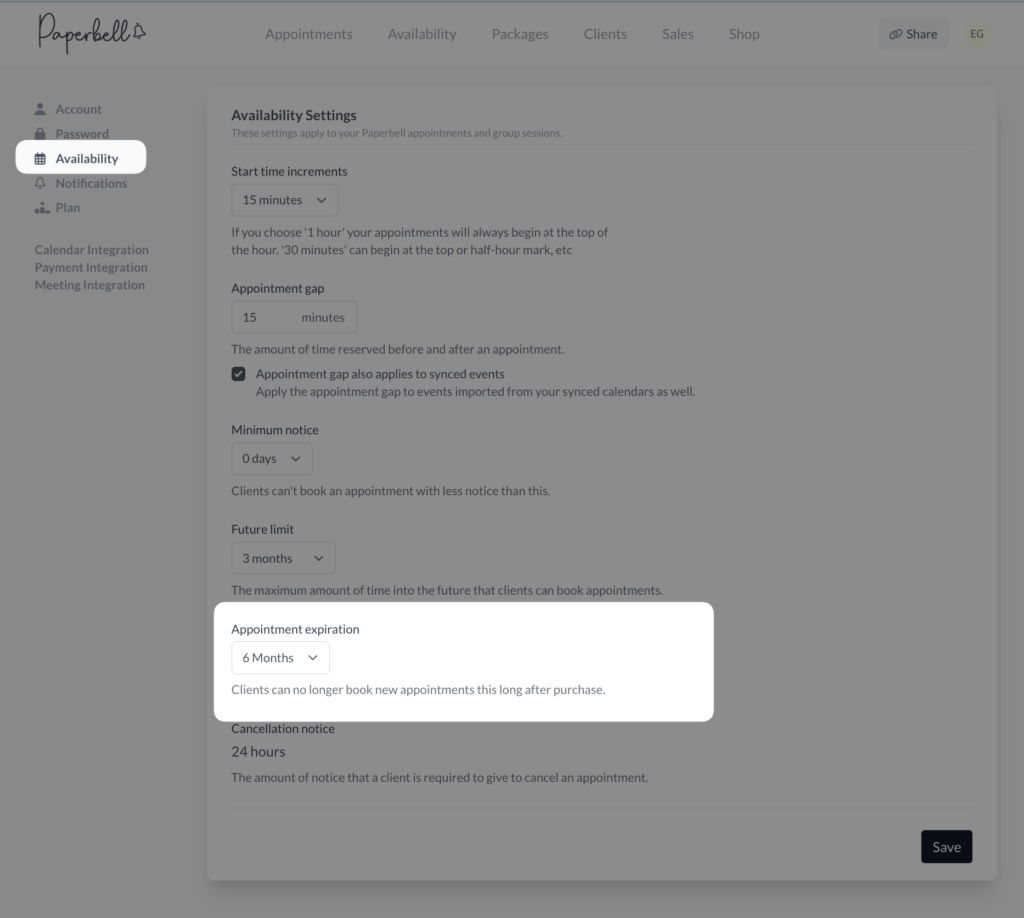
Appointment expiration determines when the appointments in a package will no longer be available to be booked. Read more about it here.
Finally, you’ll see the Cancellation notice, set by default to 24 hours.
Notifications
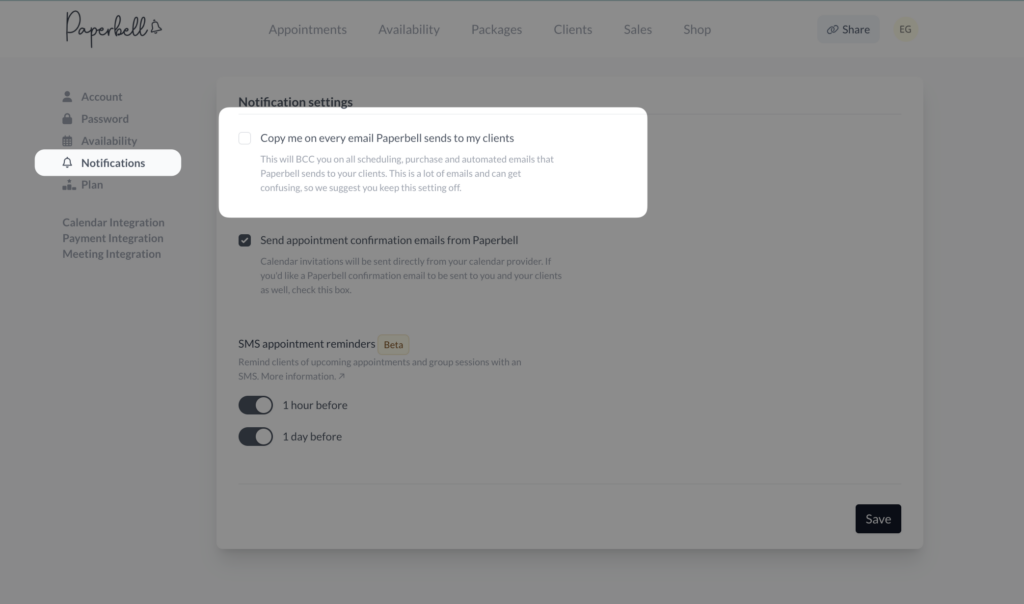
Change up what kind of notifications you and your clients receive here.
You can choose to be copied on every email Paperbell sends to your clients (but we don’t recommend it; if you want to check which emails your clients have gotten, you can find that in their client section.)
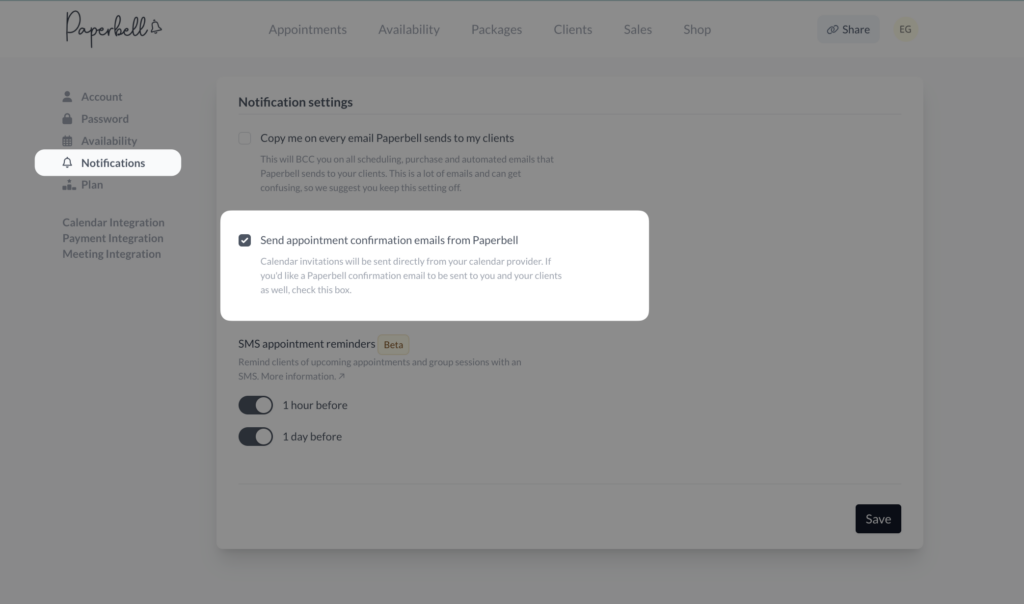
Your calendar app will send event invitations to your clients. If you’d also like Paperbell to send confirmation emails, check the box:
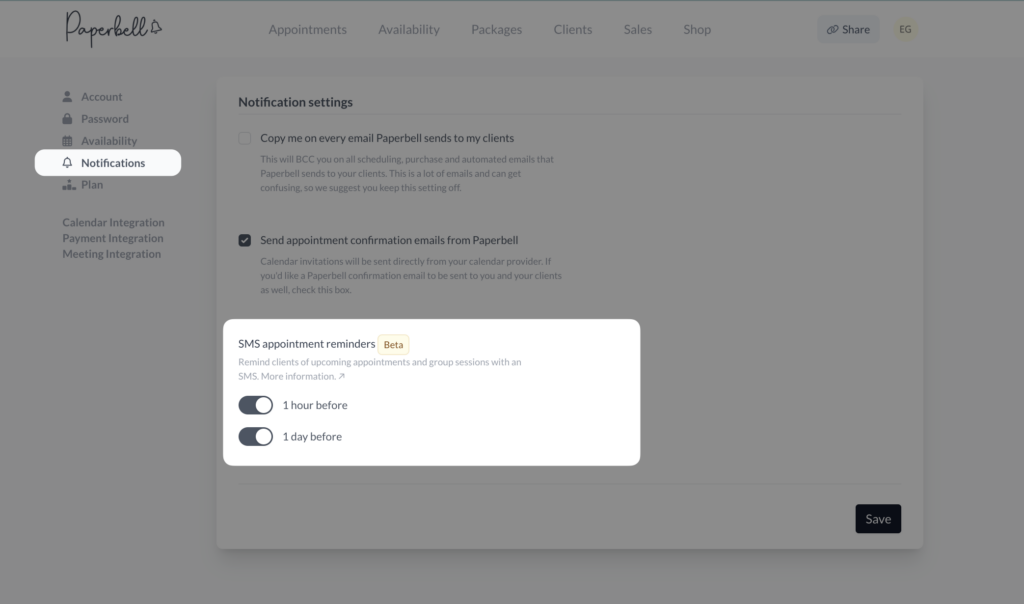
You can also set up SMS (text message) appointment reminders to go out to your clients. Toggle on SMS reminders to go out 1 hour before and/or 1 day before an appointment:
Please reach out to hello@paperbell.com if your country isn’t currently supported to send SMS reminders. We may be able to add your country!
Check out the nitty gritty on SMS reminders here.
Plan
Look here for all things related to your Paperbell subscription.
Click the arrow where it says “Manage your plan, billing, and payment renewal” to see when your subscription renews, update your payment method, see past invoices, and upgrade or downgrade your Paperbell subscription.
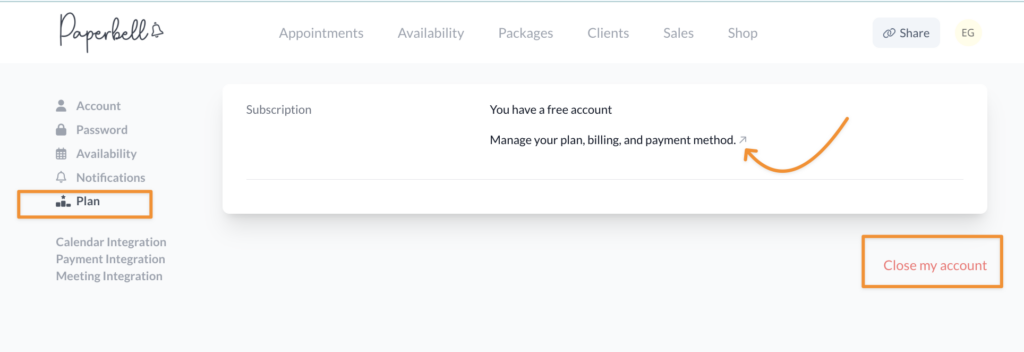
This is also where you’ll find the option to cancel your plan or after that, the option to close your account (please tread lightly here if you’ve been using Paperbell with clients).
Calendar integration
This is the section where you’ll sync your external calendar (Google, Outlook, or Apple) with Paperbell.
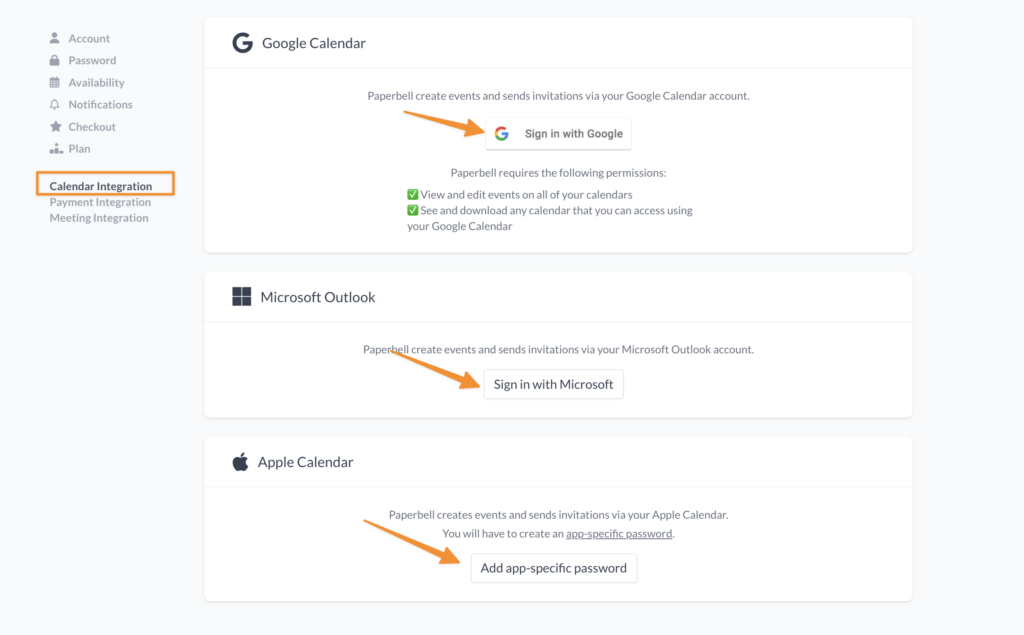
A reminder: Appointments from your synced calendars will overrule Paperbell availability. For example, if you set a Paperbell timeslot from 1-5pm, but your Outlook calendar shows a meeting from 2-3pm, that 2-3pm time slot will not be available to clients booking with Paperbell.
Also, calendar invitations will go out from your synced calendar to your clients.
Payment integration
Connect a Stripe or PayPal account here. When using PayPal, double-check that the email address submitted is the same one on your PayPal account.
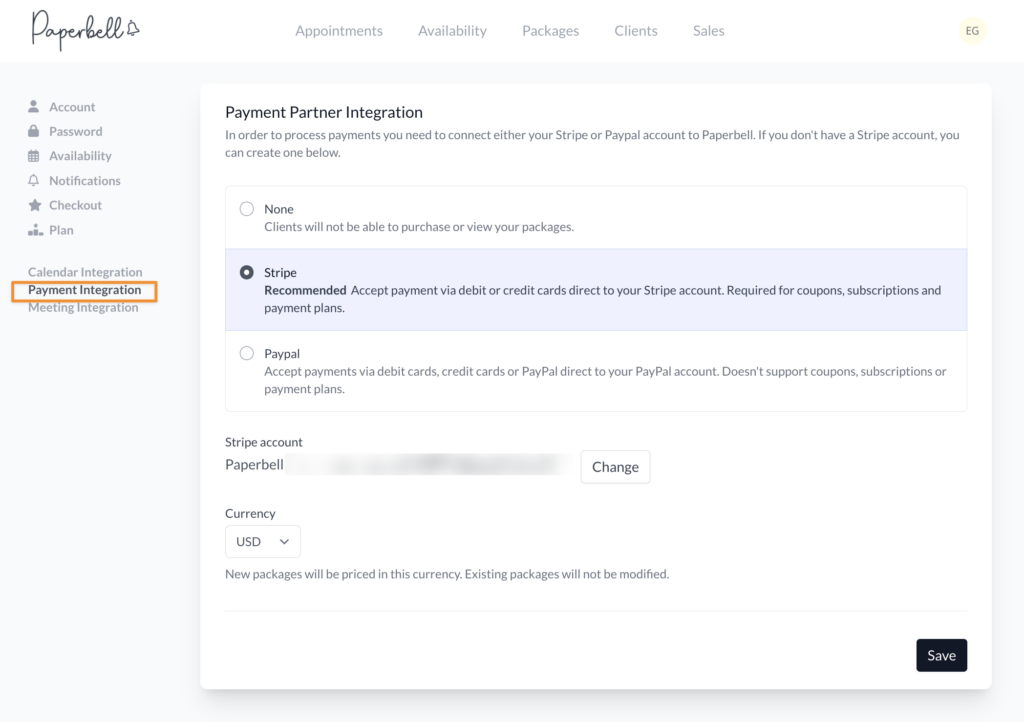
If you don’t currently have a payment account (also called a payment gateway, merchant account, or credit card processor) you can create one with just a few clicks via our partnership with Stripe. Simply choose Stripe then hit connect to create your account.
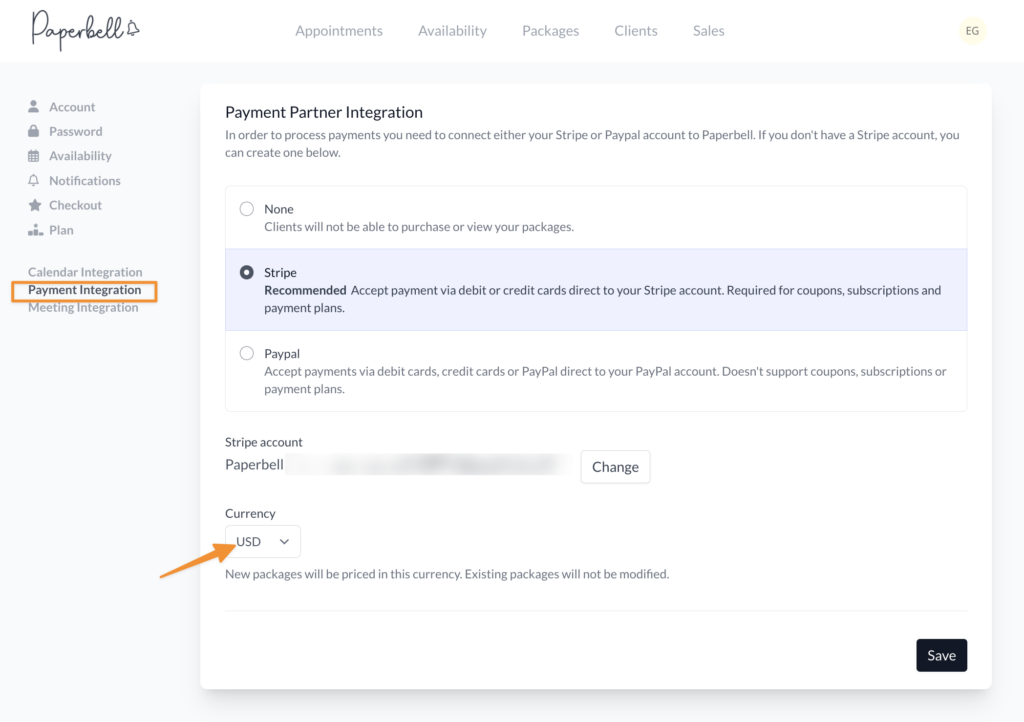
Currency can also be customized in this section. New packages will be priced in the currency you choose. Existing packages will not be modified. Here’s an easy workaround for creating packages in different currencies.
Meeting Integration
Find your Meeting Room Settings here. You have the option of automatically including a custom URL for all appointments to let you and your client know how you’re connecting. You can include the URL to a meeting room such as Zoom, your phone number, or conference line details.

Other options include a Zoom integration that automatically creates a unique Zoom link for each meeting and a Google Meet integration.

If you want to use Microsoft Teams, you won’t be able to integrate it directly like you can Google Meet or Zoom.
We recommend you choose Custom URL from the menu of Meeting Room Settings, and write that you will send the meeting link before the session.
And then remember to send a unique link manually before every session!
Alternatively, you can set up your own Teams meeting link and enter it as the Custom URL that goes out with all your invitations.
We don’t recommend this! There are significant privacy issues that come up with reusing the same Teams link:
If you do this, we strongly suggest that you configure your meeting settings so that all participants have to use the lobby. This way, a client clicking their link at the wrong time does not end up in someone else’s session.
You should also turn off the chat function: when you re-use a link, the chat history is present throughout the life of that link, so clients will see any previous chat/file sharing history, even if it wasn’t for their session.
And finally, you’ll need to be vigilant about clearing out the info of previous attendees, to maintain privacy.
Here’s how to find your meeting link in Microsoft Teams:
- Open Microsoft Teams.
- Click on the Calendar icon on the left side of the Teams window.
- Click the Meet Now button at the top right corner of the calendar to open the Start a meeting now overlay.
- Click Get a link to share to open your personal meeting room overlay (Meeting with [Your Name]). From here, you can:
- Configure your personal meeting room options
- Copy your personal meeting room link
Once you have that link, choose Custom URL in your Meeting Room Settings and paste your link (it’ll be a long one)!